The introduction of smartphones has made it quite simple to record and share events with others. Screen recording is one crucial feature that has grown in popularity.
Screen recording on an iPhone is a flexible tool that lets you capture anything from a game session to an app overview to instructional content. We’ll offer a thorough tutorial on how to screen record on an iPhone in this post.
How to Set Up Your iPhone for Screen Recording?
1. Update to the Newest iOS Version:
Make sure the most recent iOS version is installed on your iPhone. Make sure your device is updated to at least iOS 11 or a newer version, as screen recording functionality was introduced in that version.
2. Access the Control Center

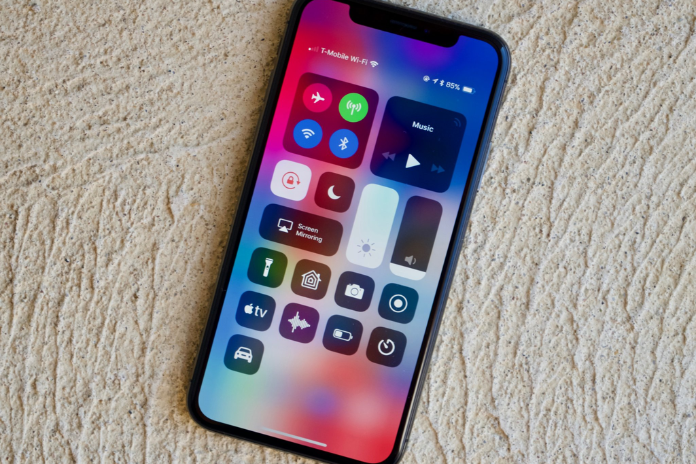
First, turn on your iPhone and open the Control Center. Swipe down from the upper-right corner of the screen on the iPhone X and later models. For iPhone 8 and previous versions, swipe upward from the bottom of the screen.
3. Customize Control Center
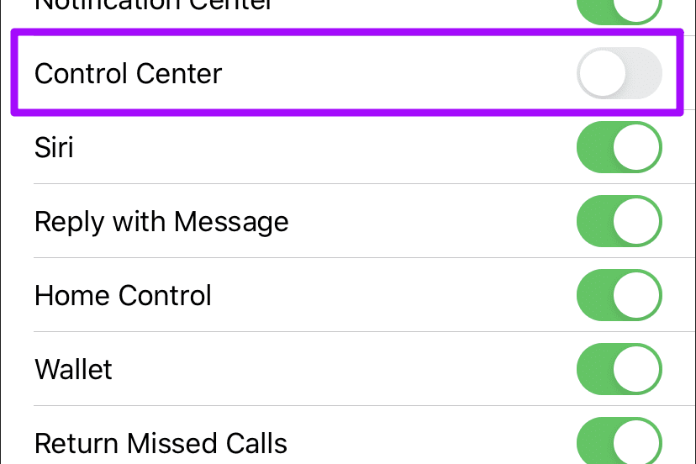
To customize the Control Center, select Settings > Control Center > Customize Controls. If Screen Recording isn’t already there, you can add it. To add ‘Screen Recording’ to the Control Center, tap the green + icon next to it.
Initiating a Screen Recording
1. Open Control Center

To reach the Control Center, swipe down (or up, depending on the model of your iPhone).
2. Start Recording
To begin recording, find the screen recording icon, which resembles a solid circle inside another circle. To begin the 3-second delayed recording countdown, tap this button.
3. Record Your Screen
The recording will start when the countdown is over. A red status bar will appear at the top of your screen to let you know that recording is currently underway.
4. Pause or Stop the Recording

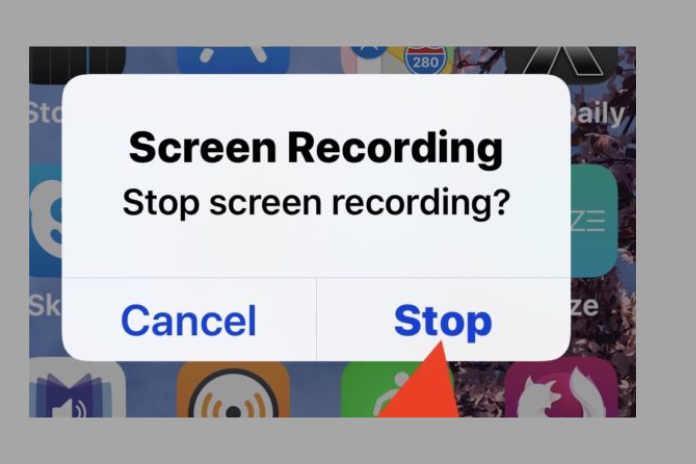
Hold or End the Recording: Press and hold the red status bar, then choose ‘Pause’ to halt the recording. Press ‘Stop’ to end the recording entirely. As an alternative, you can stop recording by opening the Control Center and tapping the red icon.
5. Save the Recording:
When you stop recording, the screen capture is automatically saved to the ‘Screenshots’ album in your Photos app.
Also Read: What is YTMP3? How to Use it in 2023?
Extra Screen Recording Advice
- Enable Microphone Audio In the Control Center, long-press or 3D touch the screen recording button to record external audio via the microphone. Toggle the microphone icon on to record audio.
- Edit and Trim Recordings: The integrated Photos app allows you to edit and trim videos once they are recorded. To alter the start and end points, just select the video, touch ‘Edit,’ and use the trimming tool.
- Use Screen Recording in Apps: The majority of apps allow for the use of screen recording. Launch the preferred application, navigate to the Control Center, and start screen recording as normal.
- Record Gameplay Players can record their gameplay and share it on social media or with friends by using screen recording software. Don’t forget to turn on microphone audio if you wish to record commentary in addition.
- Utilize External Apps: Although the built-in screen recording functionality is extensive, you might want to look at third-party programs from the App Store that provide more functions, effects, or editing options.
Also Read:13377x Original Site: Your Gateway to Movie Magic & Its Alternatives
Conclusion
An iPhone’s screen recorder is a useful tool that may be used for a variety of tasks, such as producing instructional materials or showcasing app features.
You may easily record your screen and share your recordings with others by using the native screen recording capability. To get the most out of this helpful function on your iPhone, don’t forget to check out the screen recording options and capabilities. Happy capturing!
