In the age of digital gadgets, our cell phones have evolved into memory, data, and file storage devices. Our digital lives are stored on these pocket-sized wonders, which save everything from images and videos to papers and downloaded files.
But as our phones fill up with data, we need to practice good digital hygiene. Cleaning out the trash on your Samsung phone on a regular basis is essential to maintaining the functionality of your device and freeing up storage.
Why It’s Important to Empty the Trash?
Let’s examine the importance of emptying the garbage on your Samsung phone before moving on to the how-to:
- Reclaim Storage Space: When you use your phone, a variety of items, including deleted images and videos, end up in the trash. Trash removal allows you to make important storage space available.
- Optimize Performance: Slow performance might be caused by a cluttered phone. Your phone will function more efficiently if you remove any superfluous files.
- Preserve Privacy: Things in your garbage could contain sensitive or personal data. To ensure that these data are erased forever, empty the trash.
- Avoid Accidental Restores: Deleted files usually end up in the trash first. You run the danger of unintentionally recovering a file you meant to remove if you don’t empty the trash.
Let’s now go over how to clear the garbage on your Samsung phone step-by-step.
Method 1: Using the Gallery App

You can clear out the trash and retrieve deleted images and movies using the Gallery app. As follows:
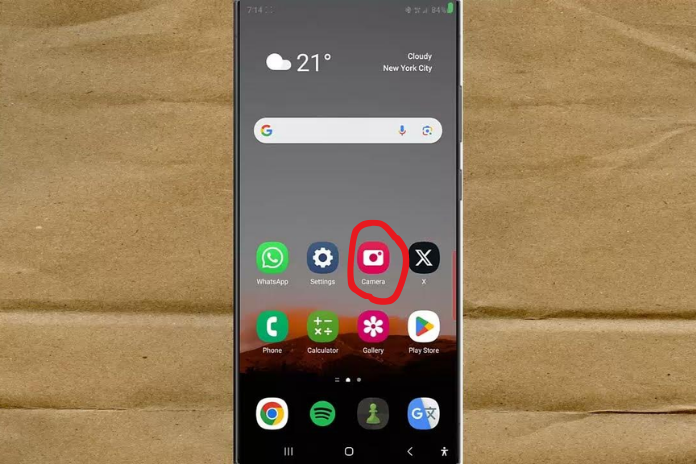
- Launch the Gallery App: Locate and launch the Gallery app on your Samsung mobile device.
- Tap the Three Lines: Three horizontal lines, or dots, will appear in the upper-left or upper-right corner. To enter the app’s menu, tap this symbol.
- Go to the Trash Folder: Within the menu, you’ll find an option labeled “Trash.” Tap on it.
- Select Items to Delete: You’ll now see a list of items that have been deleted but not yet permanently removed. Tap the files or photos you want to delete.
- Empty the Trash: After selecting the files, tap the “Delete” or “Empty” option, usually represented by a trash can icon. You may need to confirm your action.
- Confirmation Prompt: Samsung may display a confirmation prompt to ensure you want to delete the selected items permanently. Confirm to proceed.
- The selected files are now permanently deleted from your device, and you’ve successfully emptied the trash in the Gallery app.
Method 2: Using the My Files App

You can usually locate deleted files in the “My Files” app if they weren’t photographs or movies. Take these actions:
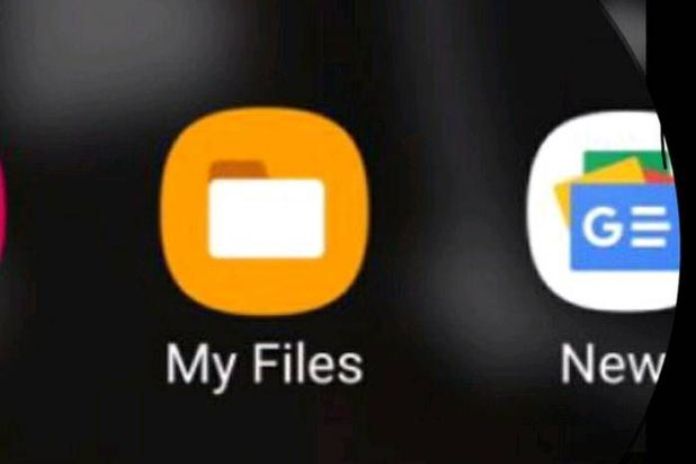
- Open the My Files App: Find and launch the “My Files” app on your Samsung phone to access the files.
- Access the Trash: The Menu of The My Files App and Look for The “trash” or “recycle Bin” Option. Apply a Tap.
- Select Items to Delete: A list of deleted files will appear inside the Trash folder. Choose the items that you wish to remove permanently.
- Empty the Trash: Once the files have been chosen, locate the “Empty” or “Delete” option, which is usually indicated by a trash can icon. If asked, confirm the action you took.
- Confirmation Prompt: Samsung may prompt you for confirmation before permanently deleting the items you have chosen. Assent to move forward.
- Your Samsung phone has now been permanently cleared of the files you have chosen.
Also Read: What Is Apple Music Symbols? A Complete Guide in 2023!
Method 3: Using the Samsung “My Files” Widget

You may clear the trash directly from your home screen if you have the “My Files” widget there. As follows:
- Access the Home Screen: On your Samsung phone, navigate to the home screen.
- Locate the “My Files” Widget: Locate the “My Files” widget if it is present on your home screen.
- Press “Recycle Bin”: Press the “Recycle Bin” button or its corresponding widget icon.
- Choose Files to Delete: A list of deleted files can be seen inside the Recycle Bin. Select the files you wish to remove forever.
- Empty the Trash: Locate and tap the “Empty” or “Delete” option, which is typically indicated by a trash can icon.
- Verify the Deleted Things: Please confirm the deletion of the selected things if Samsung asks you to do so.
- Your device has now permanently erased the files you chose.
Method 4: Using the Samsung Cloud

It could be necessary for you to clear out the garbage in Samsung Cloud if you utilize it for data backups. As follows:
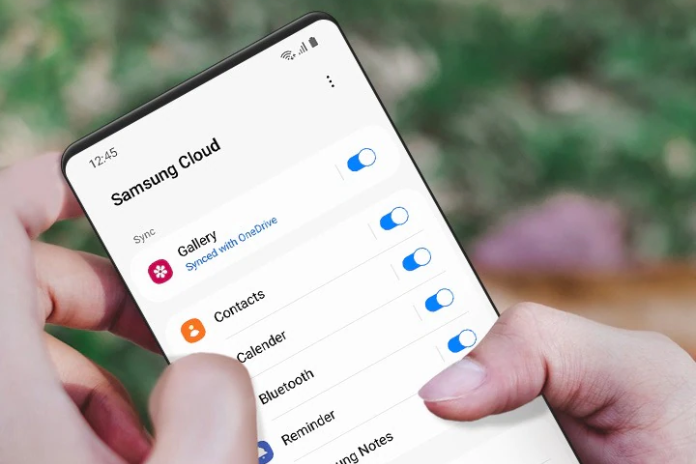
- Get into Samsung Cloud: Take your Samsung phone and open the “Settings” app. Then, go down to “Accounts and Backup.” Click or tap “Samsung Cloud.”
- AccessCloud Storage: go to “Storage” and then select “Cloud Storage.”
- Open the Trash Folder: There is a “Trash” or “Recycle Bin” option in cloud storage. Apply a tap.
- Select the Files to Remove: Choose the files you wish to remove permanently.
- Empty the Trash: find and touch the “Empty” or “Delete” option.
- Confirm Deletion: If asked to confirm the removal of the chosen items, provide your confirmation.
The files are deleted from your Samsung Cloud storage account forever.
Also Read: What Is MovieBox Pro? Is It Legal or Not in 2023?
Conclusion
You may simplify your Samsung phone and keep it operating at peak efficiency by following this simple guide to empty the garbage on your phone. You can make sure your phone runs quickly and effectively by routinely clearing out deleted files.
It’s a tiny action that can have a significant impact on your online experience. So go ahead and empty your garbage for a minute, and you’ll notice that your smartphone is cleaner and more organized.
