Windows was created with multitasking in mind. Yes, that implies that you can open and switch between various applications and windows. Additionally, it implies that you can arrange those windows so they all display on the screen simultaneously.
The key to this trick is to arrange your open windows so that they don’t block each other’s vision but instead take up a specific amount of space. The Snap Assist feature is available in Windows 10 and Windows 11 and allows you to arrange multiple windows on the screen and snap each one into place.
With Windows 11, the procedure is more versatile and adaptable because you can divide your screen into different zones and layouts.
How to Split Your Windows Screen

Let’s look at a few additional methods for window organization before we examine Snap Assist in Windows 10.
1. Stacked Display Windows
Start a few different apps first. Regardless of how they are organized on the screen. Open windows can be arranged in columns by stacking them, which stacks one window vertically on top of another. Depending on the size of your monitor and the number of open windows, the layout will change. Select Show windows stacked from the menu that appears when you right-click on the taskbar. One window is on top of the other, all the windows are stacked.
Read More: iPhone 15 could be the first with USB-C and Apple is worried!
2. Present Two Windows Parallel
You can then compare your windows side by side. Similar to stacking them, but with the windows arranged more as rows in this case. You may not notice much of a difference between the stacked view and the side-by-side view depending on the number of open apps and the size of your monitor. Show windows side by side by performing a right-click on the taskbar. Your open windows are lined up next to one another in rows.
3. Use Snap Assist to Arrange Your Windows.

Snap Assist may be more efficient. You can precisely arrange your open windows so that they take up a certain amount of space on the screen by using Snap Assist. In particular, if your screen is cluttered with many windows, Snap Assist is a useful way to display two windows side by side.
Make sure Snap Assist is turned on first. To multitask, go to Settings > System. Check to see if the switch for Snap windows is on. Leave every checkbox next to the setting selected.
You can arrange one of the two windows on the screen by selecting it. Holding it down by the title bar, move it to the right until you notice a thin vertical bar running down the center of the screen to snap that one to the right. then let go of the mouse. Alternatively, to move a window to the right, select it, then press Win+Right Arrow. By dragging it there or by selecting it and pressing Win+Left Arrow Key, you can also make something snap to the left.
Read More: Removing An iPhone’s Apple IOS 15 Beta Profile
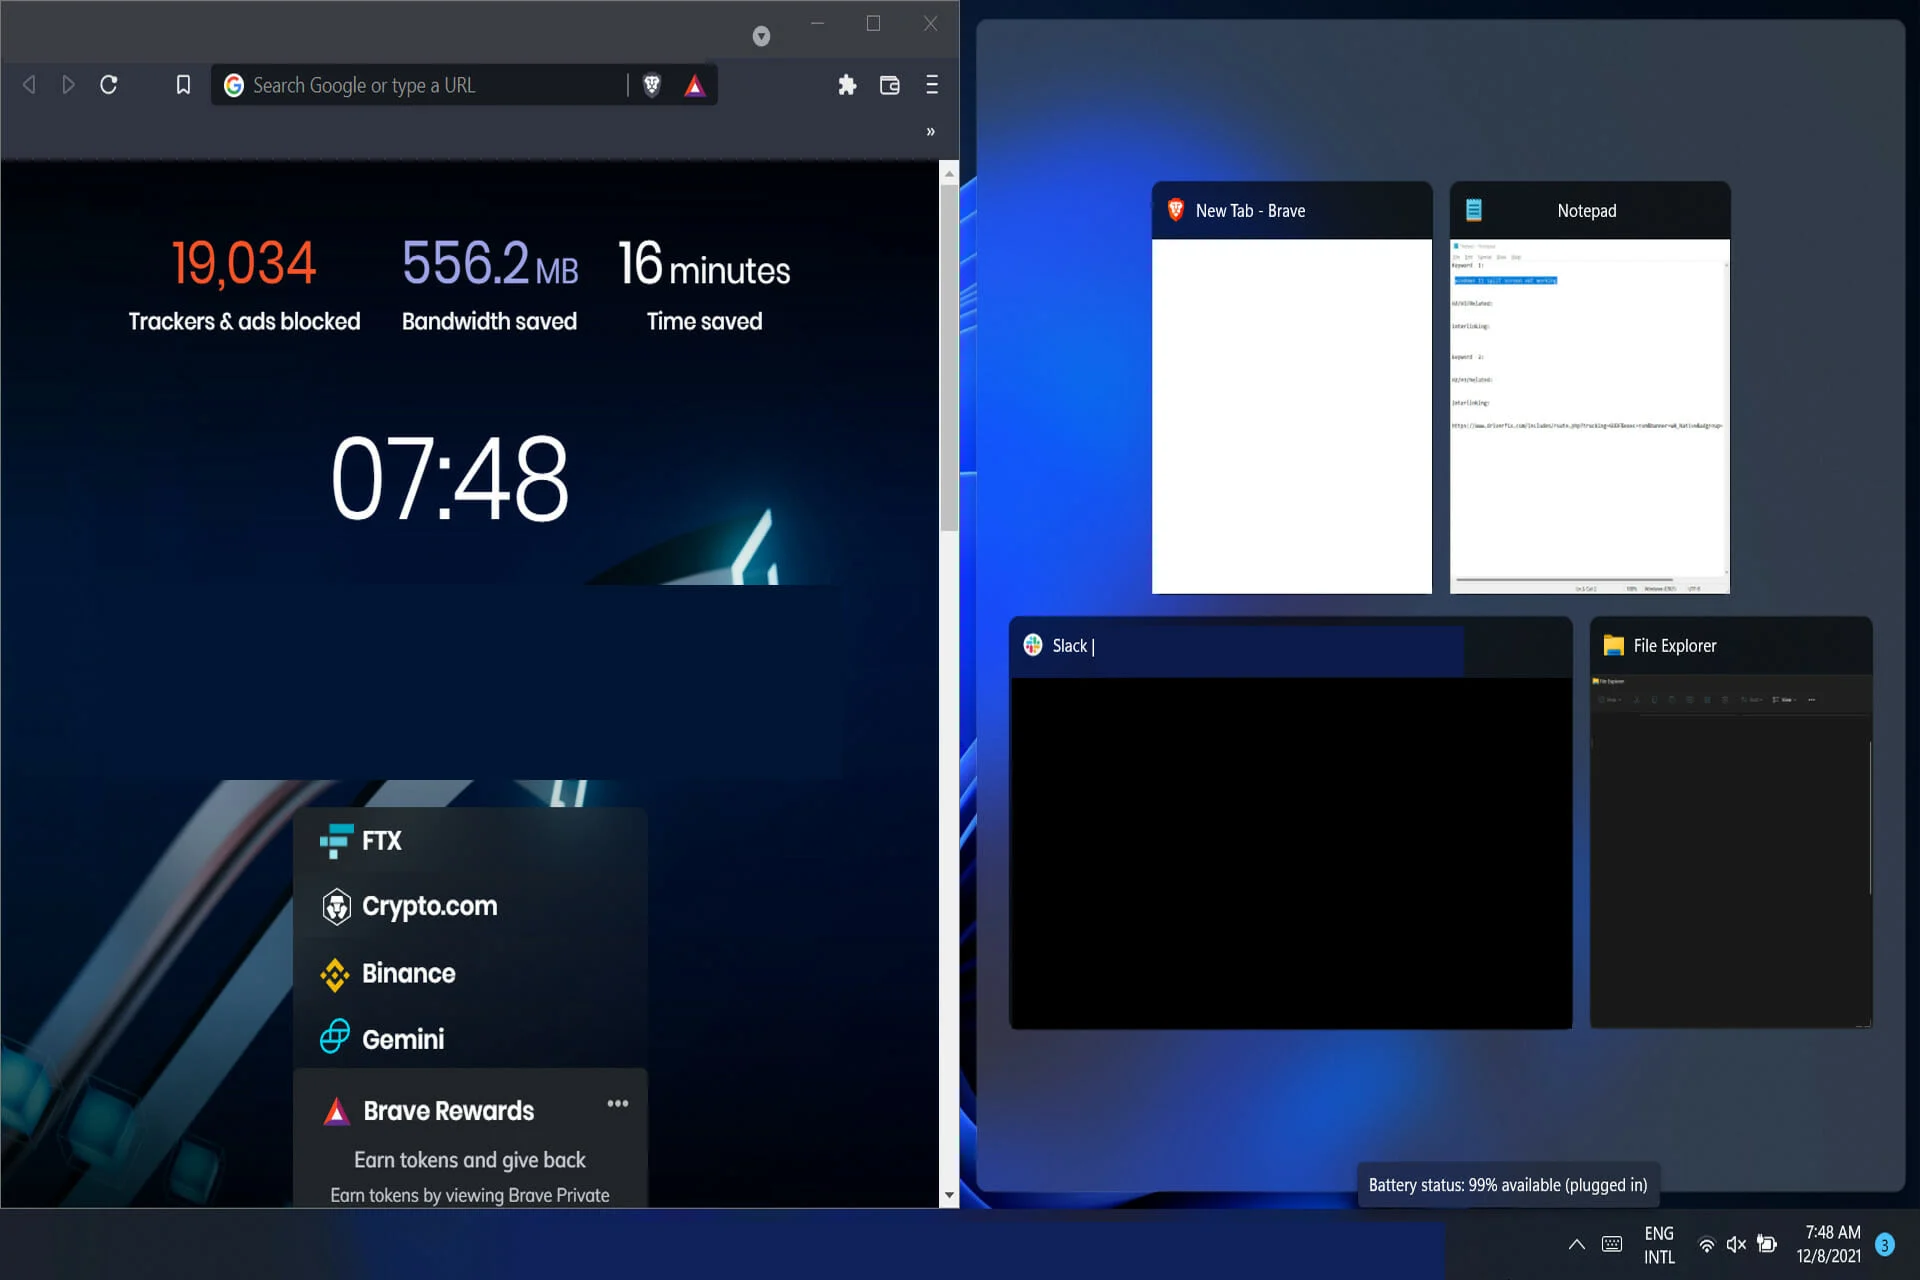
All of your other open windows will have thumbnails displayed on the opposite side of the screen. Simply select the app window you want to view alongside the first window by clicking it.
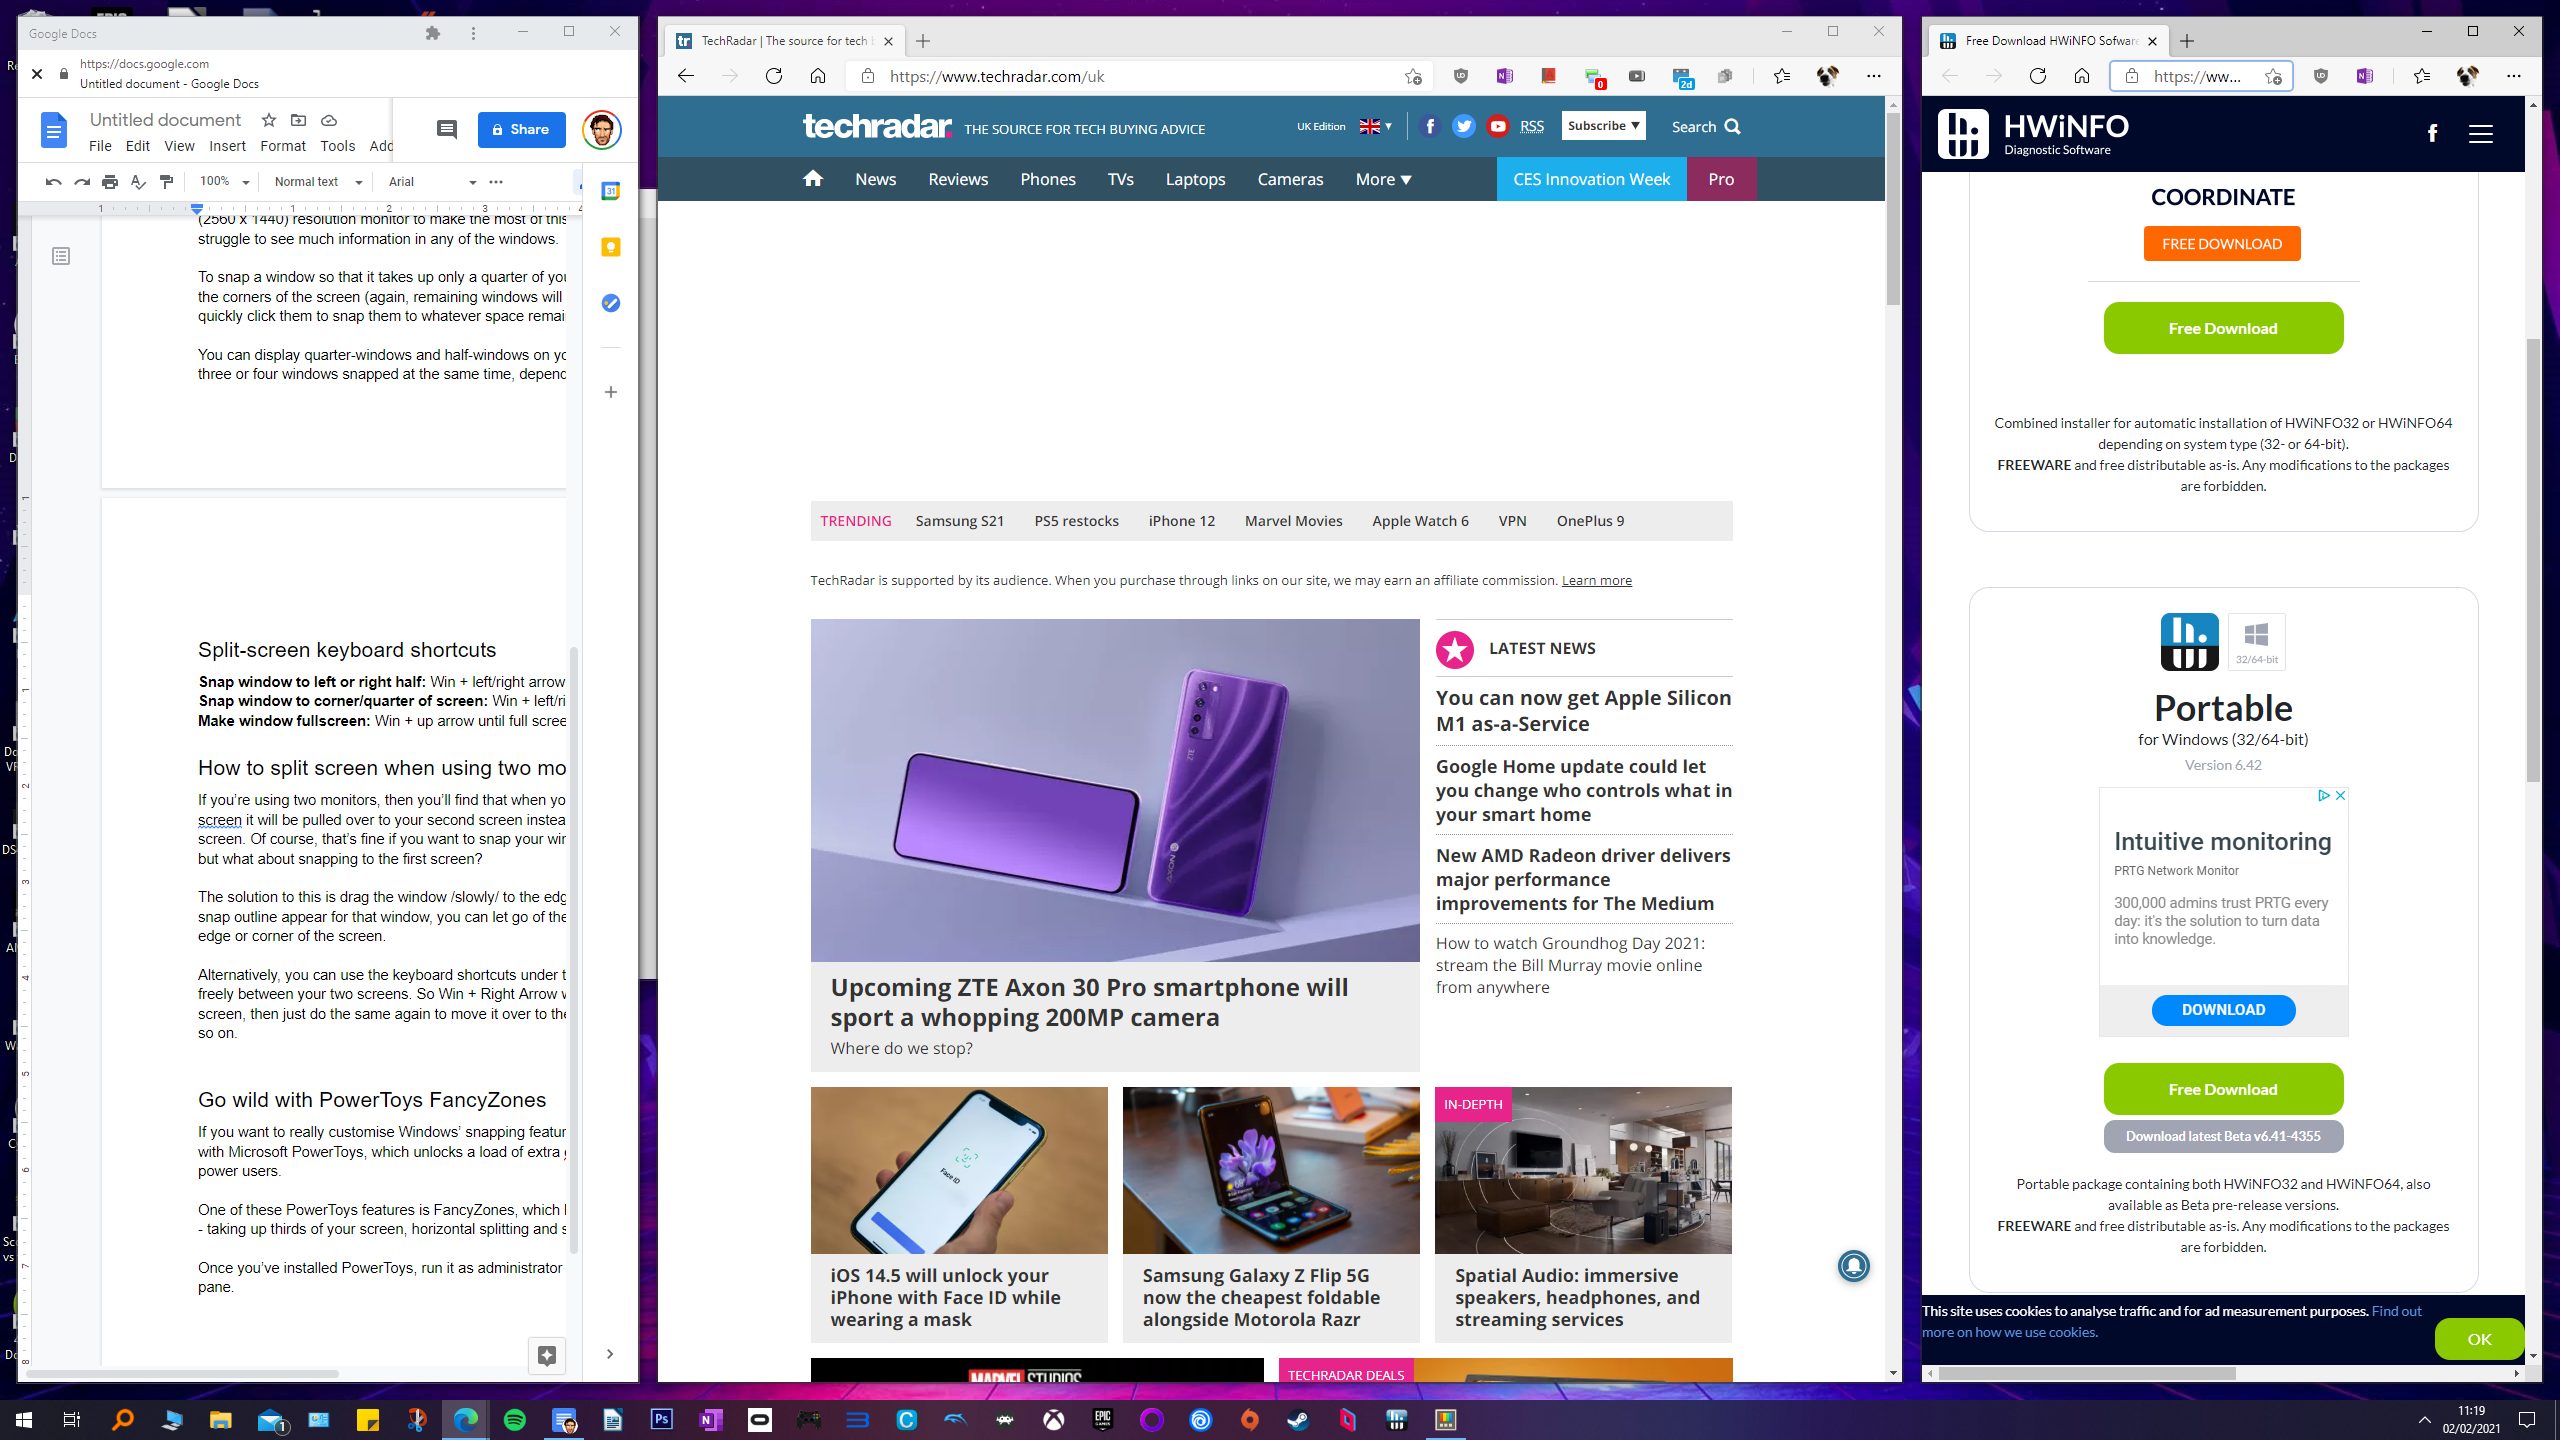
Depending on the size of your monitor and the resolution of your screen, you can snap three, four, or even more windows. Select the first window you want to arrange to snap three. Press Win+Right Arrow Key or drag it to the right to move it. The second app can be selected, and it will show up on the left.
To snap the first app to the upper right, go back to it and press Win+Up Arrow. Return to the second app, then press Win+Down Arrow Key and Win+Right Arrow Key to move it to the lower left and right, respectively. Click the app you want to see on the left side from the thumbnails on the left.
Select the window on the left and press Win+Up Arrow Key to snap a fourth window. The fourth window then snaps into place on the bottom left after you select its thumbnail.
